Views let you look at the cards in a deck from different angles. A view is simply a saved set of filters, sorting rules, and view options.
Views are especially useful when you want to create subsets of a deck for focused study sessions or quick cram sessions before a test.
What is a view?
Put simply, a view is a named set of saved preferences for a deck. A view can include:
Filters (tags, pinned cards, search queries, due status, etc.)
Sorting rules (alphabetical, newest first, most recently reviewed, etc.)
View options (grid view, list view, etc.)
Preferences (showing cards from subdecks, etc.)
A view does not create a new deck or duplicate any cards. It’s simply a saved lens that shows you a particular slice of your existing deck.
For example:
Cards tagged #exam
Cards reviewed today
All pinned cards
Only new cards
Cards with low retention
Cards match a specific search query
Once saved, a view appears at the top of the deck next to the "Filters" and "Search" buttons.
Creating your first view
Let’s walk through creating a simple view.
Open a deck
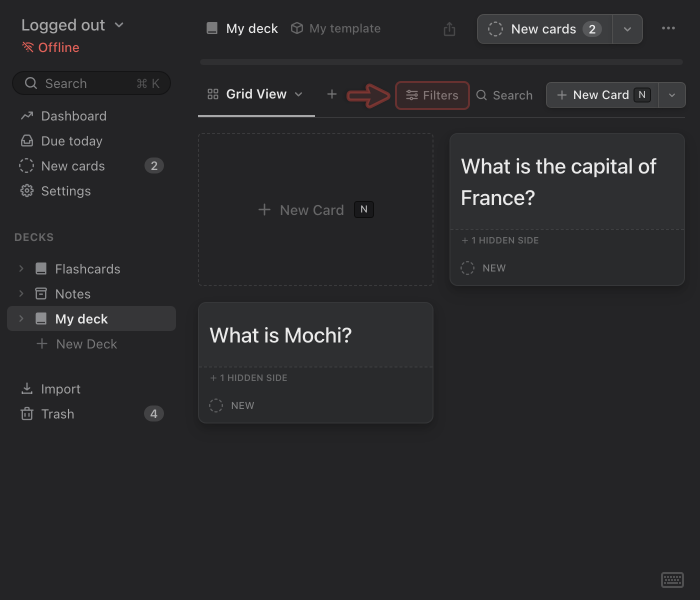
Click on the () button to the right of "Grid view".
Click on the newly created view to change its name and view options.
Hint: By default all newly created views will use the Grid view card layout.
Click the Filters button on the right-hand side to reveal the filtering and sorting options.
Apply some filters to the deck. For example:
Filter by tag
Filter by pinned cards
Filter by due status
Filter by search term
Filter by creation or review date
Filter by “new” cards only
Adjust the sorting rules (optional). For example:
Newest first
Most recently reviewed
Alphabetical by card title
Randomized
There's no need to save the view. The view is saved automatically as different options and settings are adjusted.
Using views for cram sessions
Views are especially useful when you want to cram or study a subset intensively:
Before an exam
For reinforcing problem cards
Before a presentation
When reviewing course modules
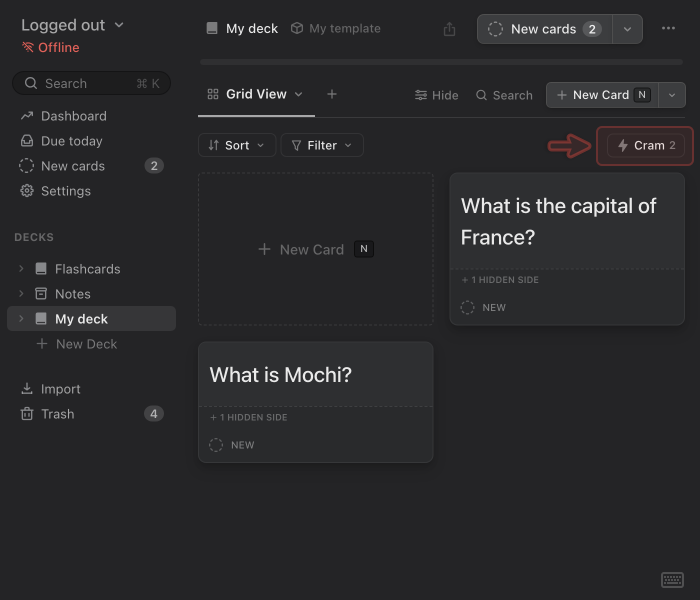
Any view can be used as a cram set simply by selecting it and clicking the Cram button.
Mochi will treat that view as a temporary study pool without affecting your normal scheduling.
This lets you reinforce information without altering long-term intervals or disrupting your regular spaced-repetition workflow.
Cramming a deck view
Select the deck that contains the cards you want to cram.
Select the view you want to cram.
Click the Filters button to show filters and sort options (if they are not already visible).
Click the the Cram button on the right side to begin cramming.
Only cards visible in the selected view will appear in the cram session. For more information on cramming, check out the Cramming section for more information.
Example views
Here are common use cases and examples.
Problem cards
A “problem cards” view filters for cards you frequently forget or struggle with.
Create a new view and name it "Problem cards".
Open Filters, add a new filter, and choose Retention rate.
Set the operator to ≤ (less than or equal to) and the value to 80.
This will only show cards that have a retention rate of 80% or less.
Retention rate is the ratio of Remembered to Forgot reviews.
(Optional) Set addition filters such as:
Review count
Card status (e.g. not Archived)
Last review result
Pinned cards
Pinned cards help you quickly return to important or frequently referenced material.
Pin cards you want to keep track of (e.g. during review).
Create a new view and name it "Pinned" or "Important".
Open Filters, add a new filter, and choose Pinned.
Make sure the toggle is set to ON.
Cards with a specific tag
Tags are a natural way to group related cards—chapters, topics, grammar points, vocabulary sets, project notes, and more.
Add tags to your cards, either within the markdown or manually.
Create a new view and name it after the tag you want to filter.
Open Filters, add a new filter, and choose Tags.
Type the tags you want to filter for (as #tag-name).
Separate multiple tags with a space.
Cards reviewed today
This is helpful for checking your progress for the day—or for reinforcing what you just learned.
Create a new view and name it "Reviewed today"
Open Filters, add a new filter, and choose Review date.
For the date, type in @today and hit RETURN.
New cards
Create a view that only shows cards which haven't been reviewed yet.
Create a new view and name it "New Cards".
Open Filters, add a new filter, and choose New.
Make sure the toggle is set to ON.
Editing, duplicating, and deleting views
Editing a view is easy. Just select the view and start making changes to the deck. The changes will be automatically saved.
To delete a view:
Select the view you want to delete.
Click it again to open the view's dropdown menu.
Click Delete view.
Warning
Deleting a view is permanent and cannot but undone.
Deleting a view does not delete any cards—it simply removes the saved filter configuration.